

The roof installation process involves a series of clearly defined steps that begin with inspection and end with final cleanup and warranty coverage. Whether you are replacing an aging roof or installing one for a new construction, every phase, from tear-off to flashing to ridge cap installation, must be executed with precision to ensure your home stays dry, energy-efficient, and structurally sound.
Roofing is not a one-size-fits-all job. It requires evaluating the condition of your roof deck, choosing the right underlayment, applying ice and water barriers in critical areas, and ensuring proper ventilation to prevent moisture buildup inside the attic.
Flashing must be installed around chimneys, skylights, and valleys to redirect water safely, while shingles or panels are layered in weather-tight patterns to withstand wind, rain, and snow.
This step-by-step guide gives you a clear picture of what actually happens during a professional roof installation, so you know what to expect, what questions to ask, and how to make sure the job is done right the first time.
Every professional roof installation starts with a thorough inspection and detailed measurement of the existing structure. This is the stage where your contractor evaluates the overall condition of your current roof, identifies structural issues, and determines exactly what needs to be replaced or repaired before new materials go on.
The inspection includes checking for signs of rot, water damage, soft spots, or sagging in the decking. The contractor will also assess the attic ventilation and check for trapped moisture or mold, which can shorten the lifespan of a new roof if not addressed early.
Flashing areas around chimneys, vents, and skylights are closely examined in this step to see if they have failed or need to be reworked.
After the inspection, precise measurements are taken. These include the total roof area in square feet, pitch angle, eave length, valley intersections, and overhang dimensions.
These measurements are critical because they determine how much underlayment, shingles, flashing, and drip edge material will be required. It also helps the contractor plan proper drainage patterns and nail placement.
The second step involves removing the old roofing materials down to the bare decking to inspect the structure underneath. This includes lifting shingles or metal panels, pulling nails, and disposing of worn-out underlayment, flashings, and ridge caps.
Professional roofing crews typically work in sections, using roofing shovels and scrapers to remove materials while protecting your landscaping and surrounding structures. Safety equipment is used throughout the process to prevent injuries and avoid property damage.
Once everything is removed, contractors perform a second visual inspection of the roof deck. This is essential because hidden damage like rotted wood or mold is often only visible after tear-off. Any compromised areas must be repaired or replaced before new materials are installed.
If the plywood or OSB sheathing beneath your roof is damaged, it is replaced or reinforced before anything new is added. This layer provides the structural foundation for the roofing system and must be flat, solid, and dry to support shingles or panels properly.
Contractors use moisture-resistant, code-approved decking materials and follow local fastening guidelines to secure them in place. This usually involves nail spacing of six inches on the edges and twelve inches in the field, though this can vary by jurisdiction.
A level and solid deck is non-negotiable. It prevents future sagging, ensures nails hold properly, and supports the even installation of underlayment and shingles.
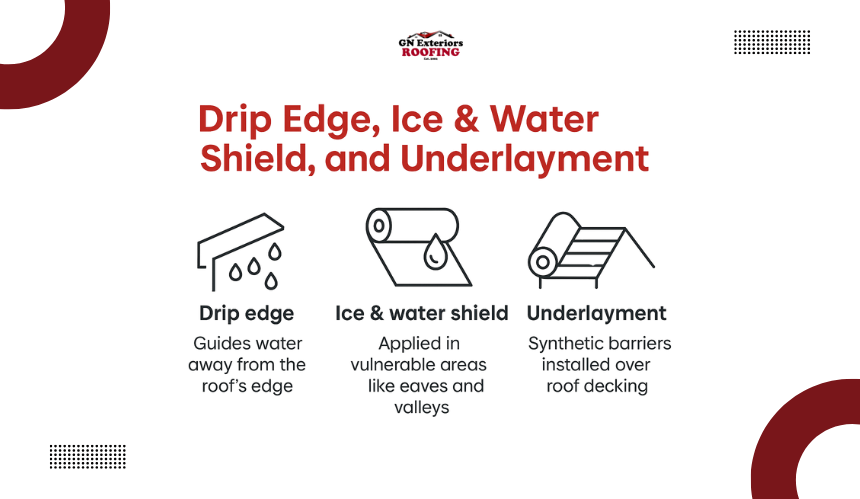
Drip edge metal is installed along all eaves and rakes to guide water away from the fascia and into the gutters. This small but critical component protects the edges of your roof from water intrusion and rot.
The drip edge is installed directly onto the deck, running beneath the underlayment on eaves and over it on rakes, following manufacturer guidelines and local codes. It is usually made of galvanized steel or aluminum and secured with roofing nails every few inches to prevent wind uplift.
Adding drip edge may seem minor to you, but it plays a major role in keeping moisture out of your roof system’s vulnerable edges.
At this stage, waterproof membranes are installed to prevent moisture from seeping into your home. The first layer is the ice and water shield, which is a rubberized membrane applied to vulnerable areas such as valleys, eaves, and around roof penetrations like vents or chimneys.
Next, a synthetic underlayment is rolled out over the rest of the roof decking. Unlike traditional felt paper, synthetic underlayment resists tearing, repels water, and provides a slip-resistant surface for the installers.
Overlapping rows, proper fastening, and wrinkle-free installation are all essential here. These layers act as a backup moisture barrier in case shingles are ever compromised.
Metal flashing is installed around all roof intersections and penetrations to create a watertight seal. This includes areas where the roof meets walls, valleys, chimneys, skylights, and plumbing vents.
Step flashing is used along sidewalls, while continuous flashing is installed where roof planes meet vertical surfaces. Chimneys and skylights receive counter flashing to protect against driving rain. All flashing must be woven into the roofing system and layered correctly to direct water away from seams and joints.
When flashing is installed incorrectly or skipped, leaks are almost guaranteed. This step is where attention to detail truly makes a difference.

Now the visible roofing material, such as asphalt shingles, metal panels, or rubber, is installed in carefully staggered, weatherproof layers. Most commonly, asphalt shingles are placed starting from the bottom edge of the roof and worked upward in overlapping rows.
Each shingle must be fastened with the correct number of nails, in the right location, according to the manufacturer’s specifications and local code.
Starter strip shingles are installed first at the eaves to provide a clean edge and improve wind resistance. Then, field shingles are layered above, followed by ridge and hip shingles at the peak.
Ventilation elements like ridge vents or static box vents are integrated as the shingles approach the top. These allow air to circulate properly through the attic, helping regulate moisture and heat buildup.
Ridge cap shingles are installed at the very peak of the roof to seal the ridge line and create a clean, finished look. At the same time, the ventilation system is completed using continuous ridge vents or other types of exhaust vents depending on the roof’s design.
Proper attic ventilation is critical to the health of your roofing system. It prevents excess moisture, reduces the risk of mold, and helps lower indoor temperatures in warmer months. Ventilation is not just about comfort, it directly affects your roof’s lifespan.
Everything is sealed, fastened, and double-checked for alignment and performance at this stage.
Once the roof is fully installed, the crew performs a complete cleanup and final quality inspection. This includes removing leftover materials, sweeping the yard for nails using a magnetic roller, and cleaning gutters of any debris caused during installation.
Your contractor will also perform a detailed inspection to ensure all flashing, fasteners, ventilation, and shingles were installed correctly and meet building codes.
Some companies offer a formal walkthrough with the homeowner and review warranty coverage and maintenance recommendations.
A professional-grade cleanup and inspection help you move forward with confidence, knowing that your new roof is clean, code-compliant, and built to protect.
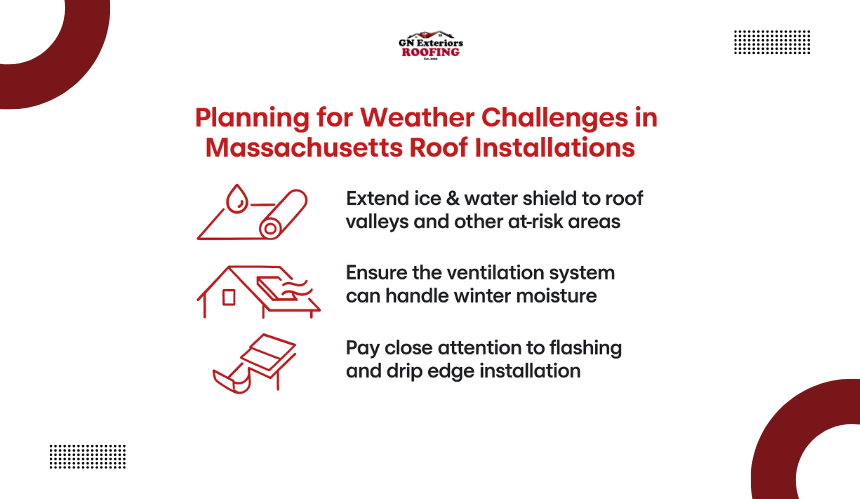
Roof installations in Massachusetts, especially in areas like Quincy, Milton, Weymouth, and Randolph, require more than just good materials. The process must be adapted to the region’s cold winters, heavy snow, and seasonal rainstorms. A roof that holds up in these conditions needs careful planning and smart upgrades at every stage.
Here are a three suggestions that can make a real difference in how well your roof performs:
If you want your roof to truly handle all the weather conditions and last for longer, it helps to work with a team that understands it firsthand. At GN Exteriors, we specialize in roofing in Quincy, MA, offering full installation services tailored to your home. From the first layer to the final inspection, we make sure every detail is built to last, and built to protect.
Yes, in most cases you can stay home during the installation, especially if the work is limited to the exterior. However, be prepared for noise and occasional vibrations inside the house, especially during the tear-off and decking phase. If you have young children, pets, or work from home, it may be worth arranging a quiet space away from the main roofing activity.
If rain is expected, professional roofing services will typically cover the exposed areas with waterproof tarps to prevent any interior damage.
Most roofers closely monitor the weather and schedule work around dry days. If rain starts unexpectedly, the crew will pause work and secure the roof until it is safe to continue. A responsible contractor will always prioritize protecting your home from moisture.
Yes, in many cases, roof installation includes evaluating and upgrading your attic ventilation. Proper ventilation helps prevent moisture buildup, reduces the risk of ice dams, and improves energy efficiency.
If your existing system is inadequate, your contractor may recommend adding ridge vents, soffit vents, or static vents during the installation process.
Not always. Decking is only replaced if it is damaged, rotted, or fails inspection during the tear-off phase. Your roofing contractor will inspect the sheathing after removing the old materials and replace only the sections that are no longer structurally sound. If extensive replacement is needed, this is usually discussed and approved before the work begins.
You should ask about both manufacturer warranties and workmanship warranties. Manufacturer warranties cover the roofing materials, such as shingles, underlayment, and ventilation products, while workmanship warranties cover the installation itself.