
Storm season often arrives without warning, turning minor roof issues into major damage within hours. Your roof is your home’s first defense against wind, rain, hail, and debris, but it is also the most exposed part of the structure.
Early roof preparation reduces safety risks, protects your property, and helps avoid costly repairs. Simple steps that can prevent major problems are checking for loose shingles, clearing gutters, sealing flashing, and trimming overhanging branches.
This guide walks you through how to inspect and maintain your roof before storm season begins, so you can be ready before the first cloud rolls in.
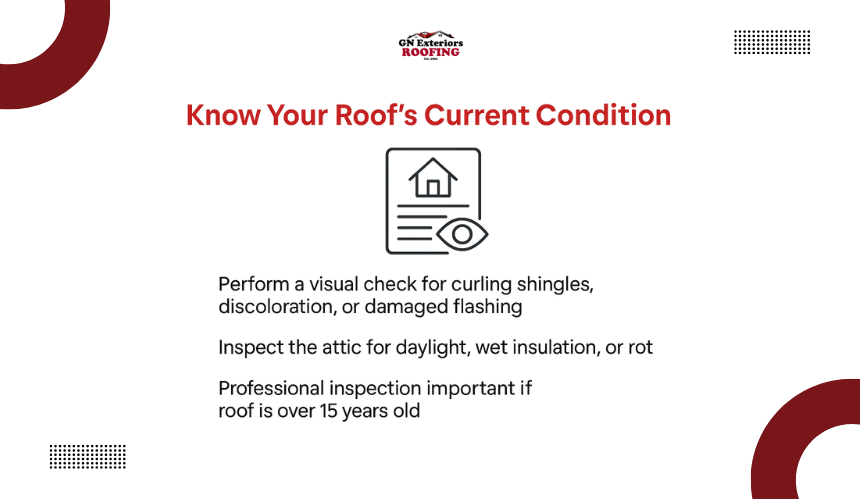
Before any preparation begins, you need to assess your roof’s true condition. This means more than just a glance; it involves a focused visual check across all accessible surfaces.
Look for signs of general wear: curling shingles, faded patches, corroded flashing, or discoloration. These indicators often show where the roofing material has aged or weakened. From the attic, check for daylight through the boards, wet insulation, or signs of rot along rafters.
Roofs over 15 years old or exposed to previous storm events should be professionally inspected. A licensed roofer can evaluate hidden areas like underlayment degradation or compromised fasteners
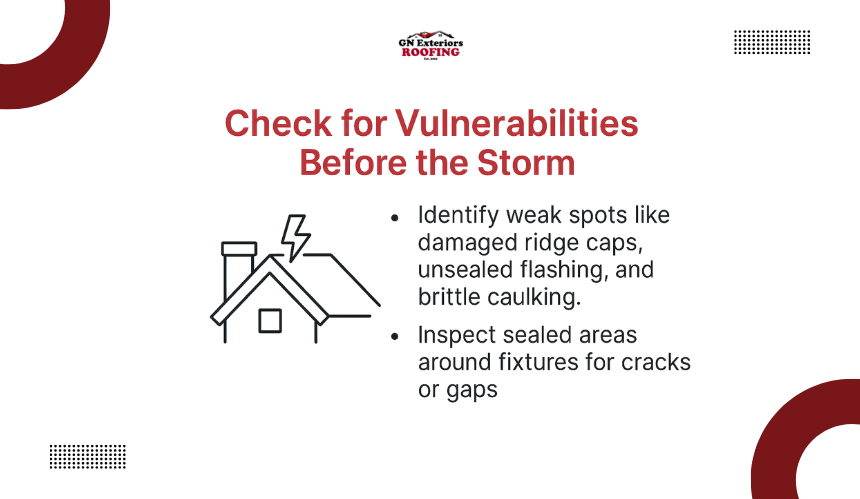
Storms put enormous pressure on any exposed area of your roof. Identifying those high-risk spots early helps you avoid emergency situations.
Check for damaged ridge caps, gaps near pipe boots, unsealed flashing, and brittle caulking. Focus especially on places where materials connect, like transitions between slopes, or where the roof meets walls or chimneys.
Examine how well fixtures are sealed. Anything that protrudes through the roof, such as vents or skylights, should have secure flashing with no visible cracking or pulling.
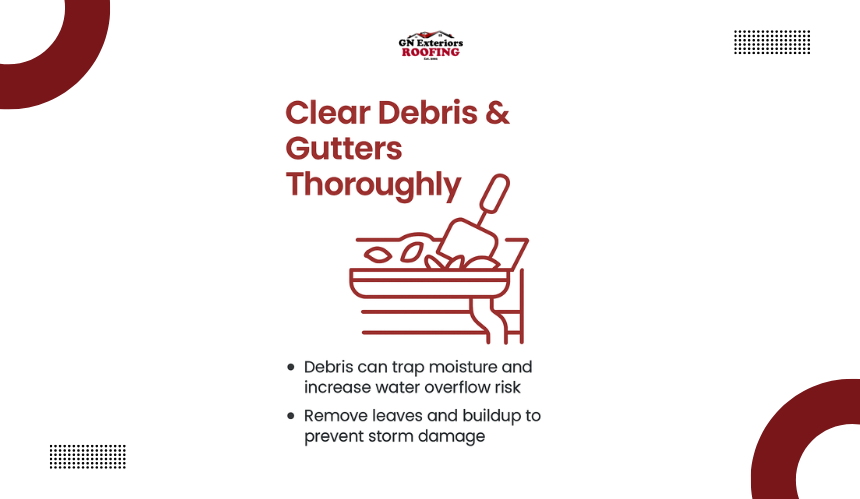
Roof and gutter buildup is one of the most overlooked causes of storm-related damage. When water can’t flow freely, it finds a way inside.
Leaves, pine needles, and granule buildup trap moisture and weigh down shingles. Over time, this degrades the surface and increases the risk of water intrusion. Clean gutters allow heavy rainfall to drain correctly, preventing overflow that can damage fascia, soffits, and siding.
Use gloves, a scoop, and a hose to flush out the system. While cleaning, look for sagging sections, loose brackets, or blockages at the downspouts. If you’re in a wooded area, consider installing gutter guards to reduce future maintenance.
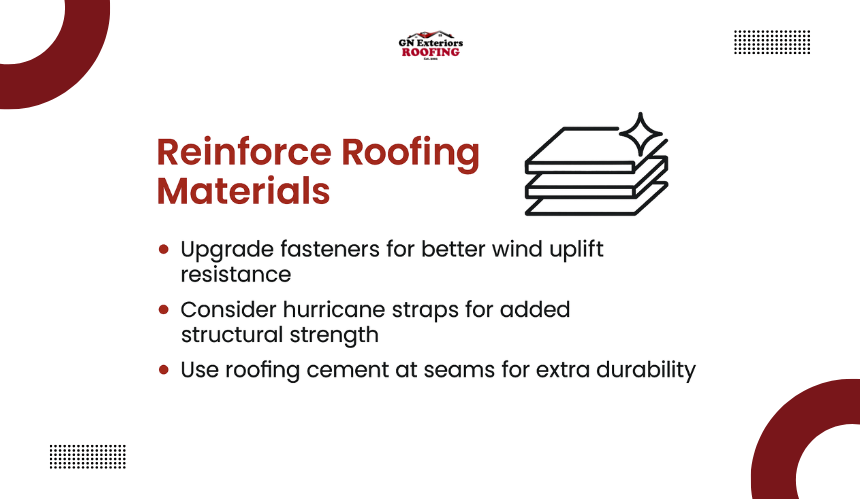
Roofing systems are only as strong as their installation and material quality. Reinforcing vulnerable points can increase resistance to high winds and flying debris.
Add fasteners rated for uplift resistance at the trusses. Apply roofing cement at exposed seams or corners. For older roofs, installing hurricane straps or clips can greatly increase the connection strength between the roof and the structure.
Consider upgrading to impact-rated shingles or tiles if your area faces frequent hail. Also, seal the roof deck using waterproof membranes beneath the outer material for added protection against wind-driven rain.
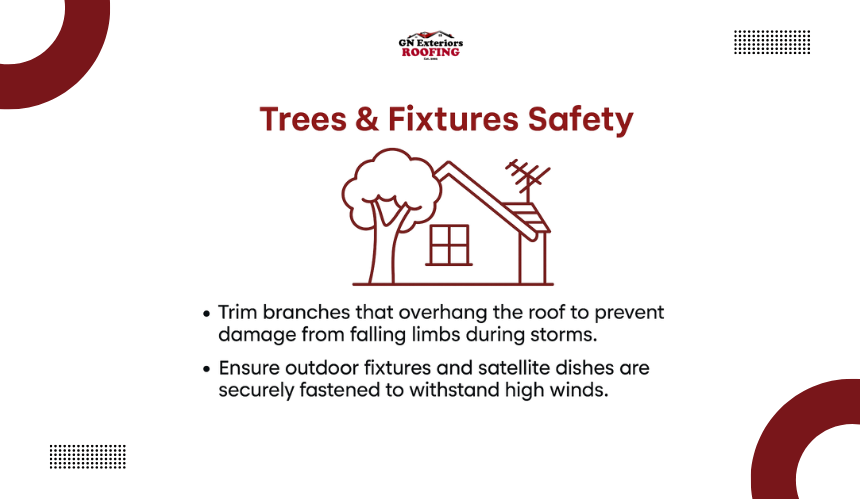
Trees can become dangerous during storms, even if they seem harmless the rest of the year. Falling branches can crack shingles, dent flashing, or even puncture the roof deck during high winds.
Trim back any branches that hang over your roof or brush against it during the wind. Branches that break under pressure can puncture shingles or break gutters. Thin out dense canopy sections to reduce wind drag, which helps prevent uprooting.
Keep limbs at least 6 to 10 feet away from the roofline. If trees lean toward the home or show signs of disease, consult an arborist for removal or bracing options.
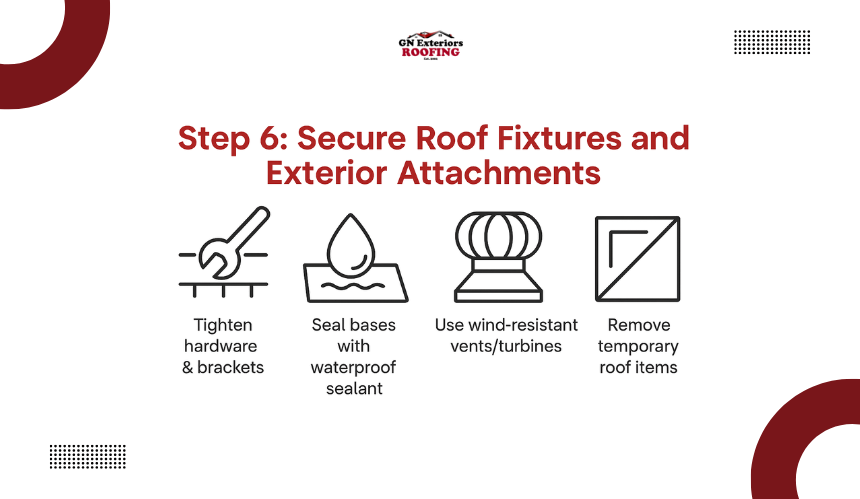
Any object mounted on a roof becomes a potential hazard during a storm if not properly reinforced. Solar panels, satellite dishes, HVAC exhausts, and antennas can detach under pressure, causing impact damage to the roof or surrounding property.
Tighten all hardware and check mounting brackets for signs of corrosion or stress. Add waterproof sealing around fixture bases using approved sealants. If you have solar panels, make sure they meet local wind code standards and have reinforced framing.
For vents and turbines, install wind-resistant caps or low-profile models. Remove any temporary items stored on the roof, as they can become airborne and cause further damage.
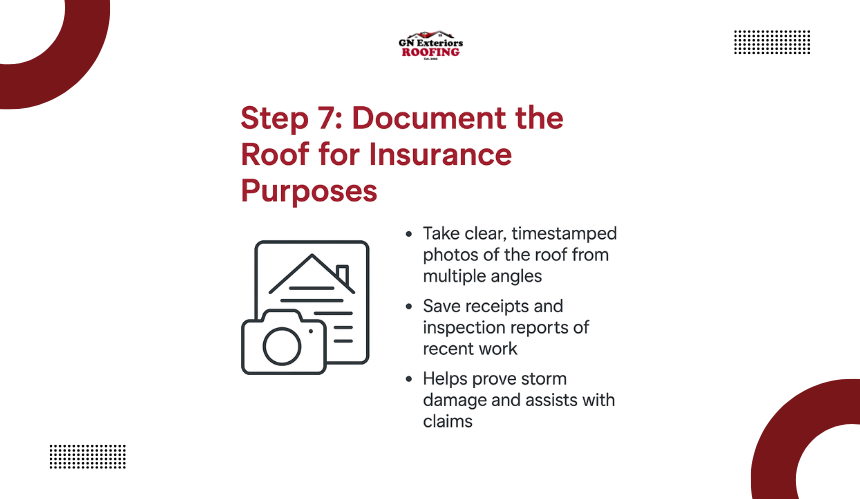
Insurance companies often require proof of a roof’s pre-storm condition before approving damage claims. Proper documentation serves as a clear, time-stamped baseline in case repairs are needed after severe weather.
Photos provide a timestamped record of your roof’s condition. Take clear shots of every slope, close-ups of vents and flashing, and wide angles showing the entire roofline. If you’ve made recent repairs or upgrades, save receipts and inspection reports in one folder.
Digital documentation makes it easier to prove damage was storm-related rather than pre-existing. It also helps roofing professionals estimate repairs more accurately.
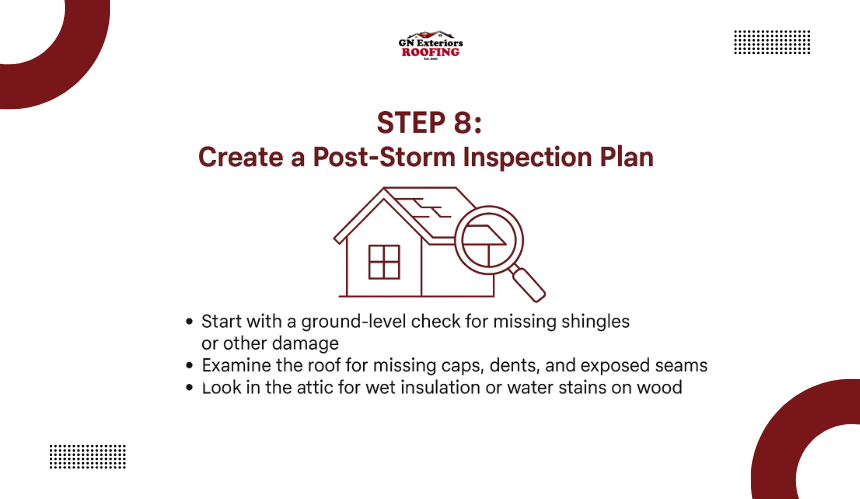
Storm damage is not immediately visible sometimes, especially on complex roofing systems. A structured inspection plan ensures no critical detail is overlooked once conditions are safe.
Begin with a ground-level scan. Look for shingles in the yard, broken gutters, or flashing that has lifted. Then check the roof surface for missing caps, dented vents, or exposed seams. Use binoculars if needed to spot small tears or shifted materials.
Inside the attic, look for damp insulation, wet wood, or a musty smell. These are often the first signs of a leak. Also, check around skylights and ceiling fixtures for water marks.
For expert roof inspections, storm damage repairs, or full replacements, trust the licensed professionals at GN Exteriors. Protecting homes with reliable roofing solutions before and after every storm.
Yes, upgrading to impact-rated or wind-resistant shingles may help qualify for insurance discounts. Insurers often reward proactive investments that reduce claim risks.
Proper attic ventilation and insulation prevent moisture buildup and heat stress. This dual protection reduces ice dams and helps roofing materials maintain their durability under severe weather.
Keep items like industrial-grade tarps, roofing adhesive, and plywood on hand before a storm hits. These tools are essential for temporary repairs in emergencies and support faster recovery.
Yes, roof shape and slope should influence how you prepare. For example, hip roofs handle wind better than gable roofs, which are more prone to uplift. Knowing your roof type helps prioritize reinforcements, especially at corners, edges, and eaves where pressure builds during storms.
